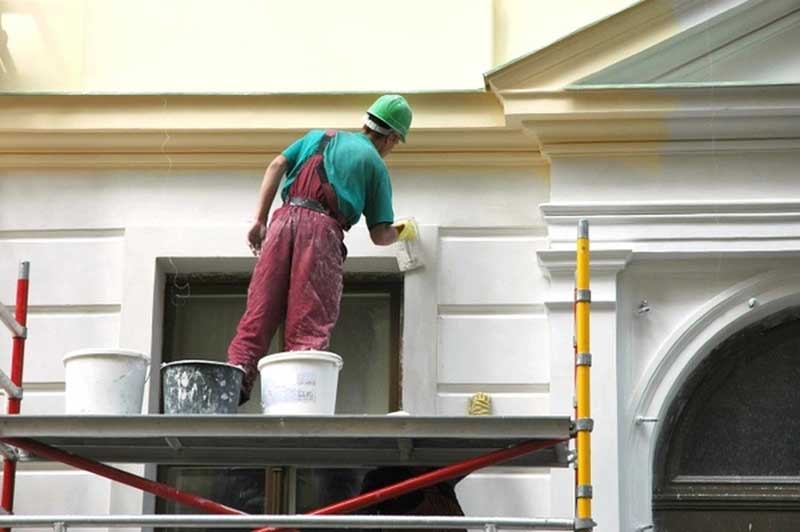
Essential Preparations Before Applying a Fresh Coat of Paint
Getting your home ready for new paint can make all the difference in both appearance and durability. Proper preparation ensures that the paint adheres well and lasts longer, keeping your home looking great over time. In this guide, you’ll learn the key steps involved in readying your home’s exterior. From gathering supplies to addressing minor repairs, these tips will help make your painting project smooth and successful.

Inspect Your Home’s Surface Thoroughly
Start by inspecting your home’s surface carefully. Look for any signs of damage like cracks, chips, or peeling paint. These issues need fixing before you begin exterior painting. Ignoring them can lead to further problems down the line. Take note of areas that require special attention so you can address them properly during the preparation process.
Clean Surfaces to Ensure Proper Adhesion
A clean surface is crucial when preparing for exterior painting. Dirt, grime, and mildew can prevent paint from sticking properly. Use a pressure washer or a hose with a scrub brush to remove dirt and debris. For stubborn stains, mild detergent solutions may be necessary. This step not only helps in achieving a smooth finish but also extends the life of your paint job.

Repair Any Damaged Areas
Once surfaces are clean, it’s time to repair any damage identified during inspection. Fill cracks and holes with appropriate fillers and sealants. Sand down rough patches to create an even surface. If wood rot is present, replace affected areas before proceeding with exterior painting. These repairs are vital as they provide a sound base for the new paint to adhere to.
Choose the Right Primer and Paint
Selecting suitable primer and paint is essential for a long-lasting finish. A good primer creates a strong bond between the surface and the paint, ensuring better adhesion and color uniformity. When selecting paint, consider factors like weather conditions and exposure to sunlight. Opt for high-quality paints designed for outdoor use, which offer better protection against elements.
Gather All Necessary Tools and Supplies
Before starting the painting process, make sure you have all the necessary tools and supplies on hand. These include brushes, rollers, drop cloths, ladders, painter’s tape, and protective gear. Having everything ready beforehand helps avoid interruptions once you start painting.
- Brushes and rollers
- Drop cloths
- Ladders
- Painter’s tape
- Protective gear
Apply Primer to Create a Solid Base
With repairs complete and supplies ready, apply a coat of primer to the entire surface. The primer acts as a preparatory layer that improves paint adhesion and provides consistent coverage. It also helps in sealing porous materials and covering previous colors or stains, allowing your chosen paint color to shine through vibrantly.
Consider Environmental Factors During Application
Weather plays a significant role in how well your paint job turns out. Avoid painting on extremely hot or cold days as it can affect drying times and paint consistency. Ideally, aim for moderate temperatures with minimal wind and low humidity levels. This consideration ensures better application and durability of the paint.
Final Recommendations for Lasting Results
Preparing your home correctly sets the stage for a successful painting project. Address repairs thoroughly, clean surfaces well, choose quality materials, and keep environmental factors in mind. By following these key steps, you’ll achieve lasting results that enhance your home’s curb appeal. Located in Brook, IN, I am here to assist with any questions or guidance needed throughout your project’s duration. Contact me today at (219) 869-0194 to learn more about how Mert Construction LLC can support your exterior transformation.
